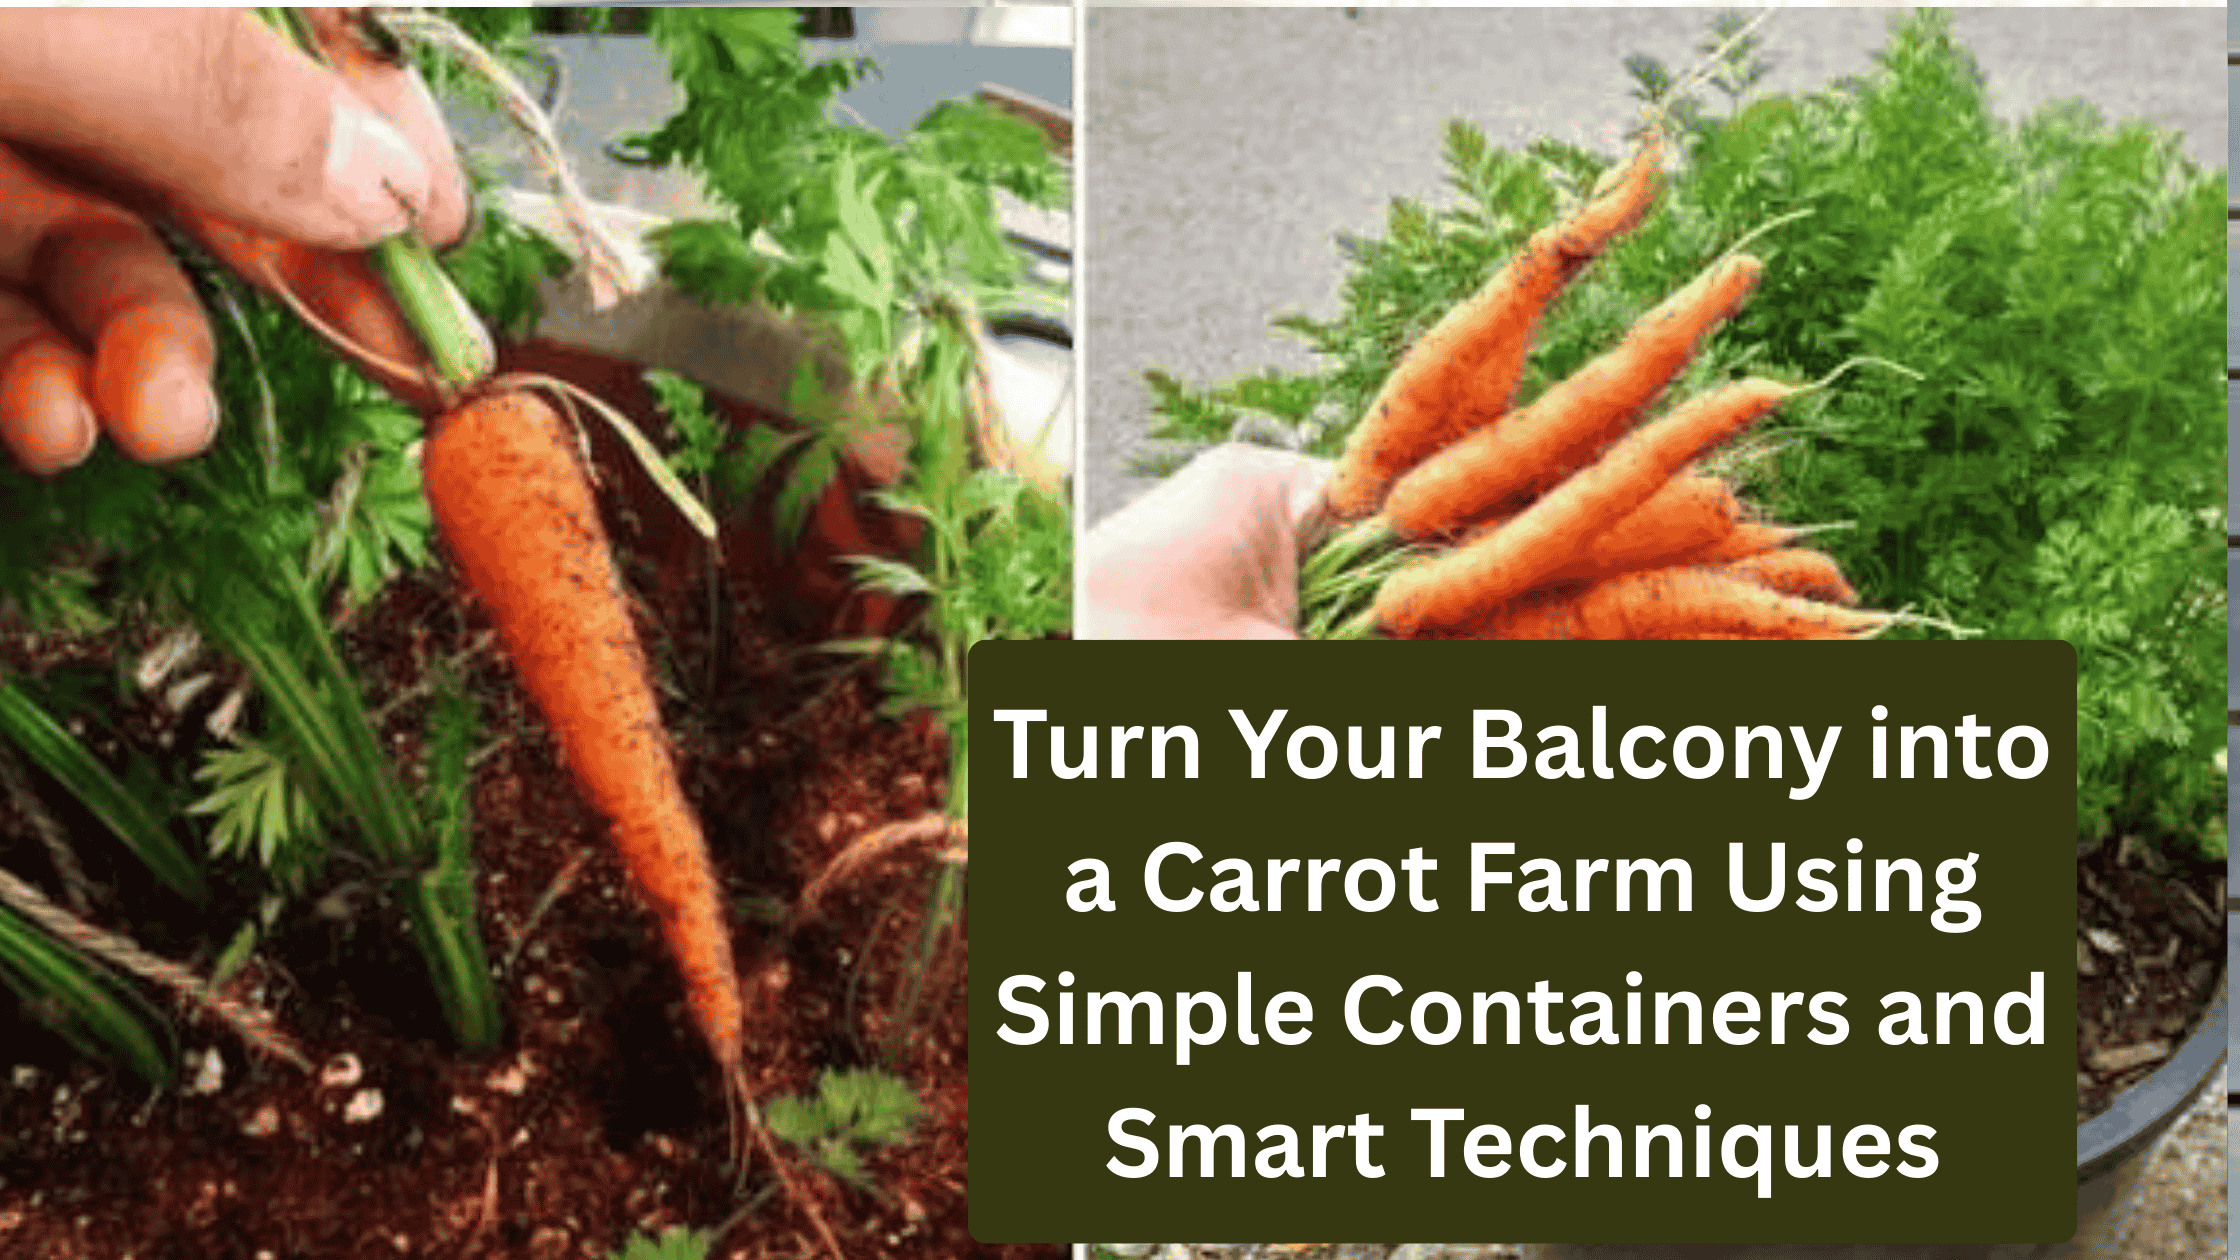
Growing carrots on a balcony is far easier than most people think. Carrots adapt exceptionally well to container gardening when given the right soil depth, loose texture, and consistent care. With smart container selection and proper soil preparation, you can harvest straight, sweet, crunchy carrots even in small urban spaces.
This method focuses on producing long, well-shaped, flavorful carrots using containers that fit easily on balconies, terraces, or rooftops.
Why Carrots Are Ideal for Container Gardening
Carrots are root vegetables that do not require sprawling space above ground. Their success depends more on soil quality than surface area, which makes containers an excellent option.

Container-grown carrots benefit from: Better control over soil texture
Reduced risk of stones and compacted earth
Fewer soil-borne pests
Uniform root development
When grown correctly, container carrots are often straighter and sweeter than ground-grown ones.
Choosing the Right Carrot Variety
Variety selection is critical for container success.

Short to medium-length carrot varieties perform best in containers, especially on balconies.
Good container-friendly types include: Nantes-type carrots
Chantenay carrots
Baby or round carrots
Short hybrid varieties
Long traditional carrots require very deep containers and are less forgiving of soil imperfections.

Selecting the Best Containers for Carrots
Container depth determines carrot shape and length.
Recommended container specifications: Minimum depth of 10 to 12 inches for short varieties
14 to 18 inches for medium varieties
Wide containers rather than narrow pots
Plastic pots, grow bags, wooden boxes, and recycled tubs all work well if drainage is adequate.

Importance of Drainage
Carrot roots rot easily in waterlogged soil.
Ensure: Multiple drainage holes
No standing water under containers
Free-draining soil mix
Poor drainage leads to forked roots, fungal diseases, and stunted growth.

Preparing the Perfect Soil Mix
Soil preparation is the most important step in carrot farming.
Ideal carrot soil must be: Loose
Stone-free
Light and airy
Best soil mix: Coco peat or garden soil sieved thoroughly
Well-rotted compost or vermicompost
Sand or perlite for aeration

Avoid fresh compost or manure, which causes forked roots.
Why Loose Soil Matters More Than Fertilizer
Carrots need space to grow downward smoothly.
Hard clumps, stones, or compact soil force roots to split or twist. Even nutrient-rich soil fails if texture is poor.

Loose soil allows: Straight root growth
Uniform thickness
Better moisture penetration
This directly affects carrot shape and quality.
Seed Selection and Handling
Use fresh, high-quality carrot seeds for best germination.

Carrot seeds are small and slow to germinate, so care during sowing is essential.
Avoid: Old seeds
Damaged or crushed seeds
Fresh seeds improve germination rate and uniformity.
Direct Sowing Is Essential
Carrots do not transplant well.
Always sow seeds directly into the final container.
Sowing method: Scatter seeds thinly on the soil surface
Cover lightly with fine soil or sand
Press gently without compacting
Seeds should not be buried deeply.
Seed Spacing for Proper Root Formation
Crowding leads to thin, misshapen carrots.
Recommended spacing: 1 to 2 cm between seeds
Rows spaced evenly across the container
Proper spacing reduces competition and improves root size.
Watering After Sowing
Consistent moisture is critical during germination.
Watering tips: Use a fine mist spray
Keep soil evenly moist
Never allow soil to dry completely
Dry soil during germination leads to poor sprouting.
Germination Timeline and Care
Carrot seeds take longer to germinate than many vegetables.
Typical timeline: 7 to 14 days in warm conditions
Up to 21 days in cooler weather
Patience is essential. Avoid digging or disturbing soil during this period.
Sunlight Requirements
Carrots grow best in moderate to full sunlight.
Ideal exposure: 5 to 7 hours of direct sunlight daily
Excessive shade produces leafy tops with poor root development.
Thinning Seedlings for Better Growth
Thinning is unavoidable when growing carrots.
When seedlings are: 2 to 3 inches tall
Thin to: 3 to 5 cm spacing
Remove weaker seedlings carefully by snipping at soil level to avoid disturbing nearby roots.
Watering Schedule for Healthy Roots
Consistent watering ensures smooth, sweet carrots.
Watering guidelines: Water deeply but infrequently
Keep soil evenly moist
Avoid sudden drying followed by heavy watering
Irregular watering causes cracked or bitter roots.
Mulching for Moisture Stability
Mulching helps maintain soil moisture and temperature.
Suitable mulch: Dry straw
Coco husk
Dried leaves
Mulch also prevents surface crusting, which can block seedling emergence.
Fertilizing Carrots in Containers
Carrots require light feeding.
Best approach: Mix compost into soil before sowing
Apply diluted organic liquid fertilizer once after thinning
Excess fertilizer, especially nitrogen, results in leafy tops with poor roots.
Role of Potassium and Phosphorus
Potassium and phosphorus support root development.
Balanced nutrition improves: Root thickness
Sweetness
Uniform color
Avoid frequent feeding. Less is more with carrots.
Avoiding Excess Nitrogen
Nitrogen promotes leaf growth, not root development.
Signs of excess nitrogen: Large green tops
Thin, woody roots
Poor sweetness
Balanced soil nutrition is key.
Managing Weeds in Containers
Weeds compete with carrots for nutrients and space.
Control methods: Hand weeding while seedlings are small
Mulching
Avoid disturbing soil deeply
Gentle weeding prevents root damage.
Pest Management in Balcony Carrot Farming
Container carrots face fewer pests, but some issues can still occur.
Common problems: Aphids on leaves
Leaf miners
Control measures: Neem oil spray if required
Remove affected leaves
Encourage airflow
Healthy plants resist pests naturally.
Disease Prevention
Carrot diseases are uncommon in containers but can occur in damp conditions.
Preventive steps: Avoid overwatering
Ensure good drainage
Provide airflow
Remove affected foliage early.
Signs of Healthy Carrot Growth
Healthy carrot plants show: Upright green foliage
Steady leaf growth
No yellowing or wilting
Strong foliage supports strong root development.
How Long Carrots Take to Grow
Most container-grown carrots mature in: 60 to 80 days depending on variety
Baby carrots can be harvested earlier.
Checking Carrot Size Without Pulling
You can check maturity by: Gently brushing soil from the top
Observing root shoulders
When shoulders reach desired size, carrots are ready.
Harvesting Carrots Properly
Harvest carefully to avoid breaking roots.
Steps: Loosen soil gently
Pull slowly while supporting foliage
Harvest during cooler hours
Moist soil makes harvesting easier.
Harvesting in Stages
Carrots can be harvested gradually.
Benefits: Continuous supply
Less stress on remaining plants
Better use of space
Thin harvesting also improves size of remaining roots.
Flavor Improvement Before Harvest
For sweeter carrots: Maintain consistent watering
Avoid late heavy fertilization
Harvest at full maturity
Cool temperatures also enhance sweetness.
Growing Carrots Across Seasons
Carrots grow well in: Cool to moderate temperatures
They can be grown almost year-round in mild climates.
Protect containers from: Extreme heat
Heavy rain
Seasonal adjustment improves success.
Common Mistakes to Avoid
Using compact or rocky soil
Overwatering
Skipping thinning
Excess fertilization
Correcting these mistakes dramatically improves results.
Why Balcony-Grown Carrots Taste Better
Controlled soil texture, gentle nutrition, and proper watering produce: Sweeter roots
Crisper texture
Better color
Freshly harvested carrots retain natural sugars lost during storage and transport.
Expected Yield in Containers
With proper care: Each container can produce dozens of carrots
Yield depends on spacing and variety
Quality is consistently high when soil preparation is done correctly.


Leave a Comment